
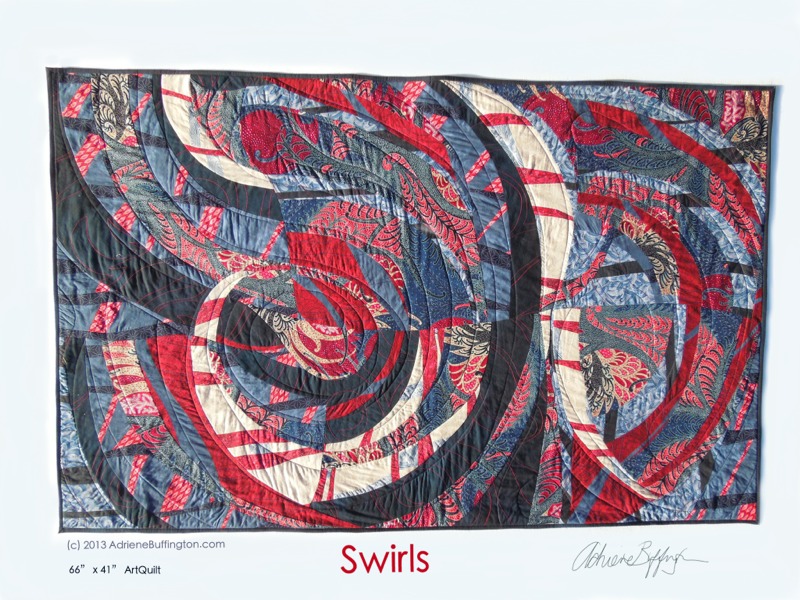
I wanted to share a few photos of “Swirls” as I was working on it. I thought I’d write a bit about the process- like a tutorial perhaps.
But what’s on my mind at the moment is how frustrating this piece was to make. I might have give up any number of times, except that I had a commitment and a deadline. And yet, with all that frustration, I felt excited, engaged, challenged. The frustration was actually fun!
I started with a collection of commercial print fabric, maybe one hand dyed by me.
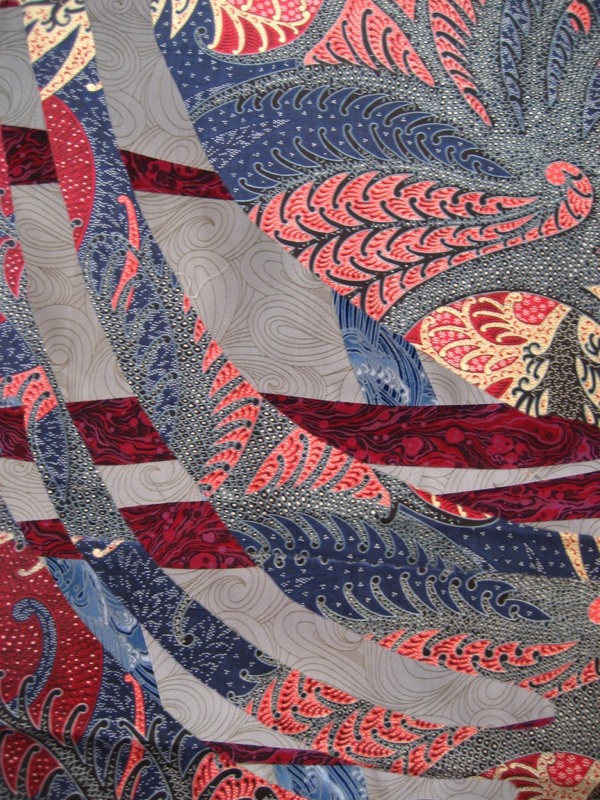
The ‘featured’ fabric is a large-scale paisley-ish print.
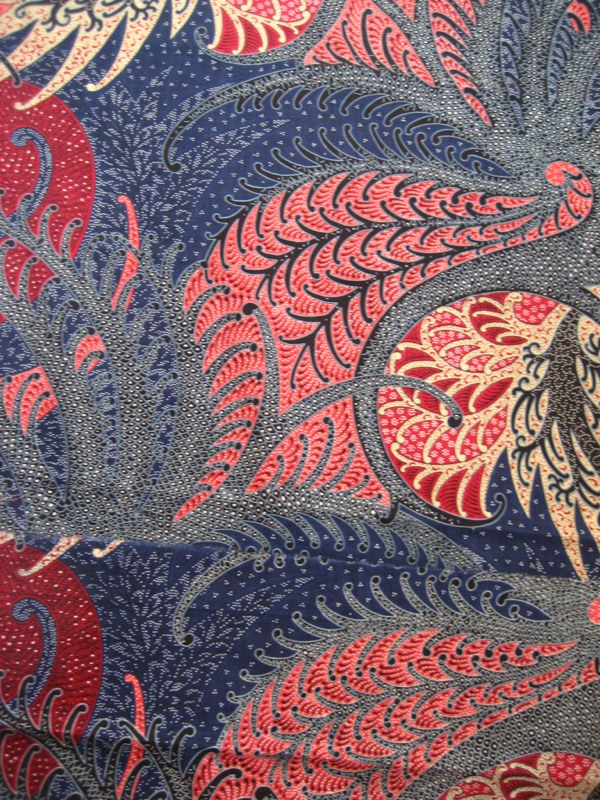
It is a great place to start- lots of movement, texture, value contrast, and interesting from both a distance and up close. But it is blue, red, and off white- definitely not a palette I love. And since color has such a strong effect on my emotions, it was actually my first frustration.
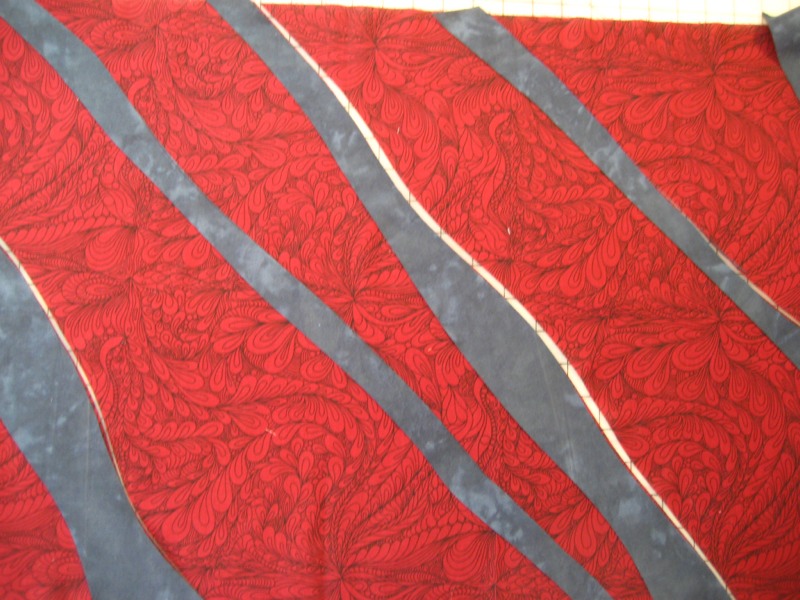
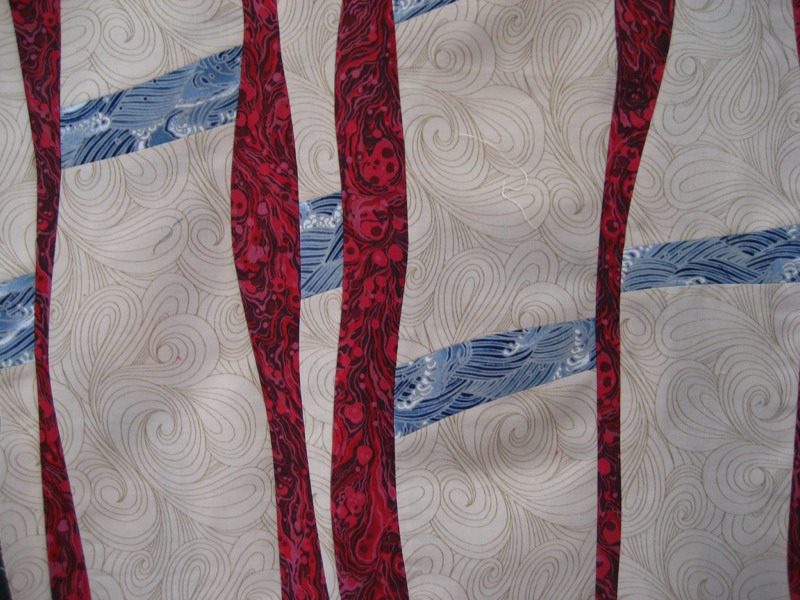
First step in this variation on my “Spontaneous Strips” process is to insert curvy strips into my ‘base’ fabrics. I made 4 different combinations, using fabrics that were swirly prints, in red, indigo blue, and cream. I machine-stitched wavy lines on some of the pieces.
And then I got stuck. Not frustrated here, but scared. I had a general idea of what I wanted to do with these stripped fabrics, and how to do it. But slicing into them is a big commitment, and although I am never entirely certain of how my ArtQuilts are supposed to end up as I am working on them, I wanted to try out a few options. So I took these photos of the pieces and loaded them onto my iPad.
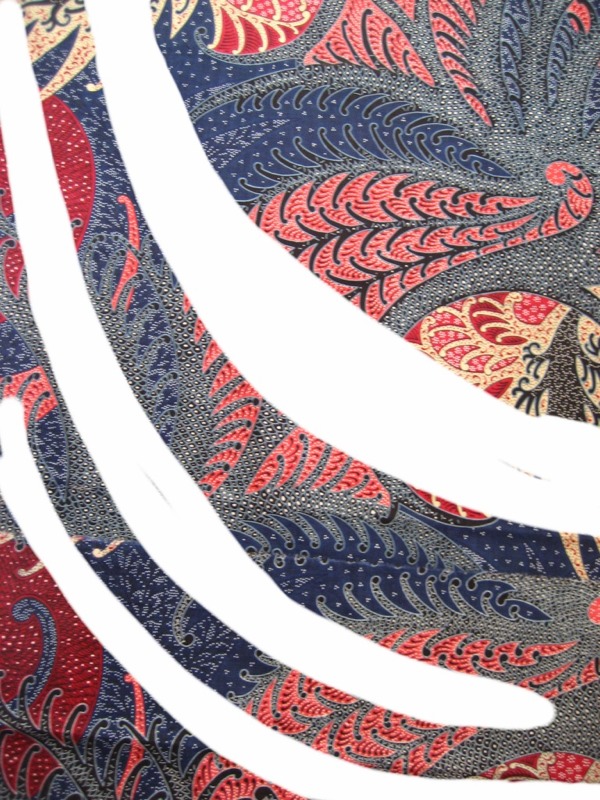
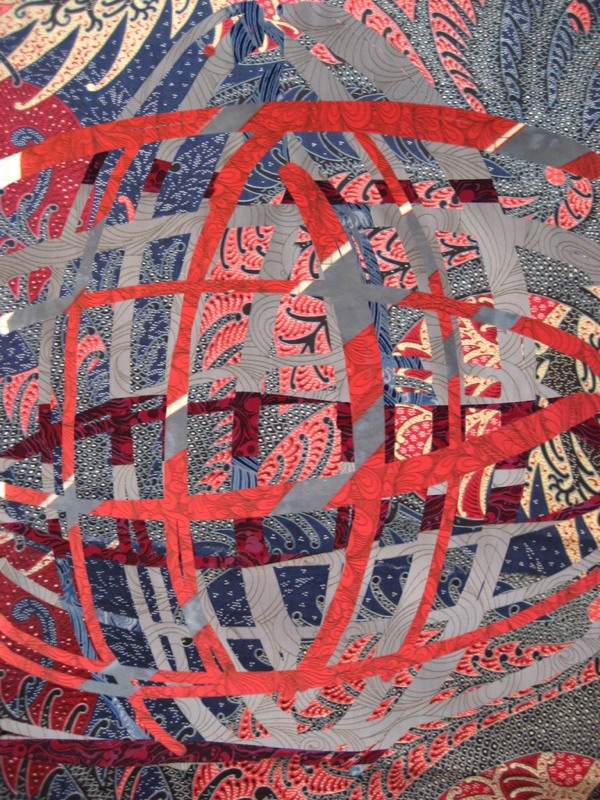
I used a simple painting app, Sketchbook Express, and imported a photo of a different fabric on each of 3 layers. Then I used the ERASER tool to “cut” out sections from the top layer, so the fabric below showed through.
I merged layers, duplicated and rotated, and played around until I had a couple of options. My initial idea was to have a central circle with ripple-like rings. But I liked the one with separate ‘blocks’.

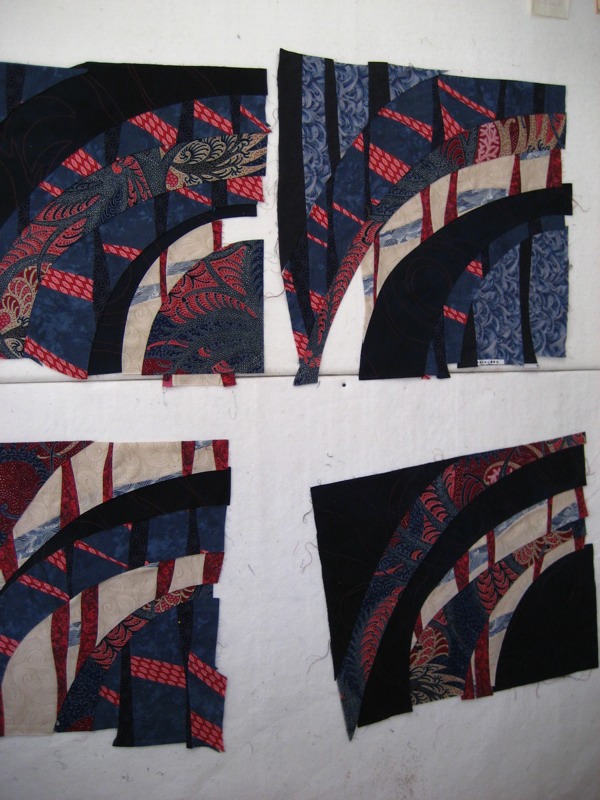
So I was ready to stack up 2 of my stripped fabrics and the big print, and slice them into nice arcs which would go back together into ‘blocks’. I could have made it a lot easier on myself if all of these had been the same size and shape- but since I started with odd pieces, I ended up with even odder shapes. Causing my next frustrating challenge: how to deal with the big pieces so I can slice them into smaller pieces that will fit back together. Instead of squaring them all up, which would have meant they were quite a bit smaller, I just used them as they were- which only postponed the frustration till the next step.
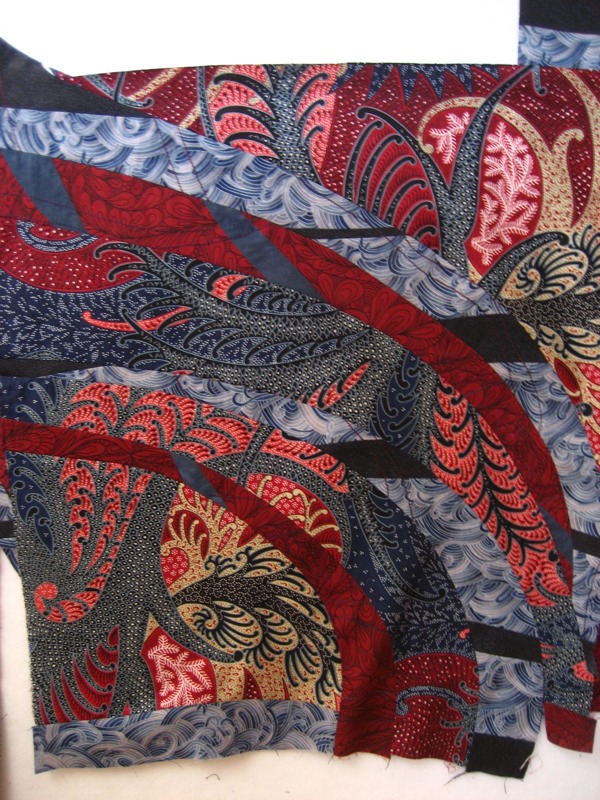
Assembling arc-shaped pieces into squarish blocks is a challenge- but I’m confident with sewing curves, so it was a fun sort of frustration. I added fabric to the edges of the too-small pieces, and made it work. At the end of this stage in the process, I had 3 interesting blocks to play with and I was liking how they worked together. Notice that I didn’t use my computer sketches as patterns, just to get a general idea for the direction I wanted to go.

I made 4 more ‘blocks’ with the paisley print, a solid navy with machine-stitching, and 2 more stripped fabrics. These had stronger value contrast than the first set, but those big sections of very dark and very light proved to be the next source of frustration. Since they were already sewn into blocks, I couldn’t shift just one piece of fabric. Which meant lots of re-arranging (and once or twice cutting and sewing again.)
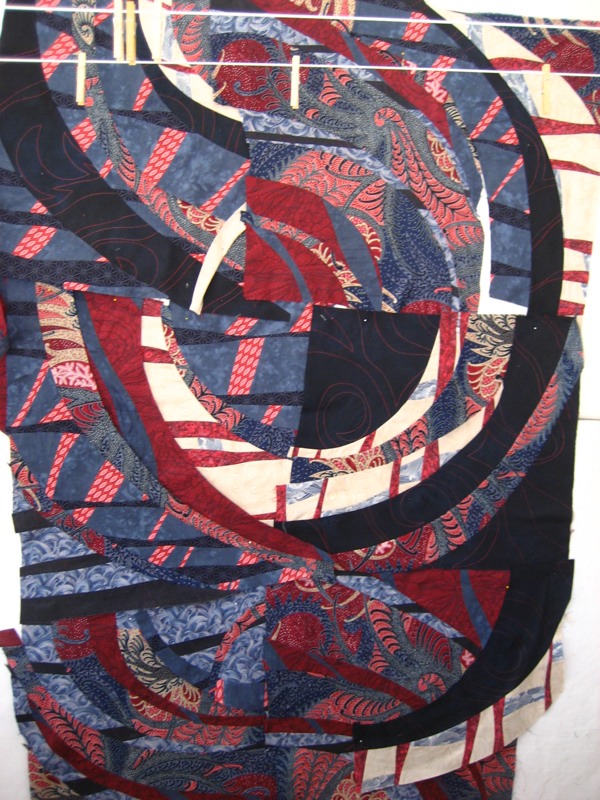
I finally had the blocks arranged in a way I liked- sort of a combination of the central circle and the separate swirly blocks. But the center was all wrong- the big dark quarter circle is a hole your eye falls into. Frustration! Fun! I needed something that would add to the flowing swirly feeling, and keep your eye moving. Back to the initial busy paisley fabric, I cut a section of the print that echoed the larger swirls, and integrated that into the center. I also continued and finished off the swirl made by the lightest fabric.

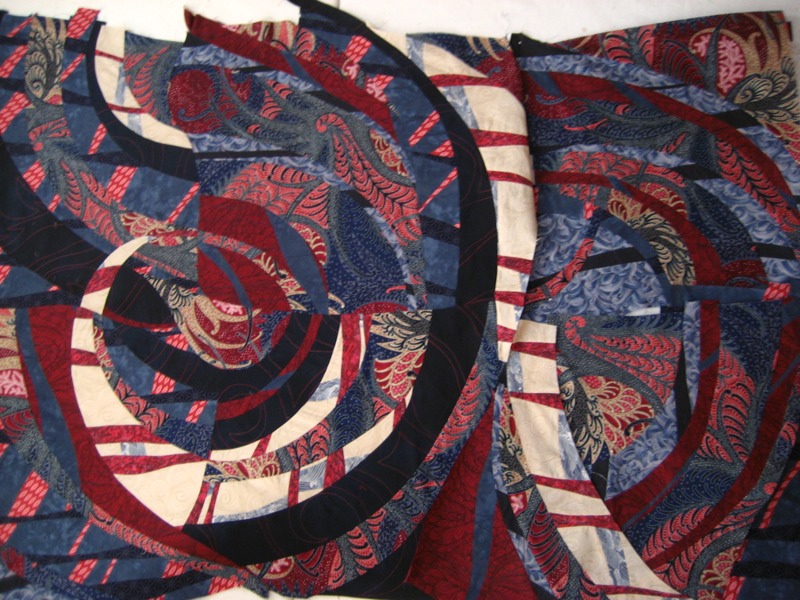
The final frustration was the bottom section. I re-arranged and tried everything to make those bottom two blocks work. I had always envisioned this piece as a tall rectangle. But the swirls didn’t want to go down, they wanted to flow sideways- changing to a landscape format. Which made perfect sense, as this piece was inspired by a landscape, and made to be displayed in a garden!
The last challenge was finishing the piece as a quilt. I haven’t quilted and bound a piece this big in years! But I had the perfect backing fabric, and I knew I could machine-quilt big swirly lines. The only frustration here was re-arranging my studio so my tables could support the quilt as I worked. Oh, and the binding. Binding is my least-favorite part of the whole process. I decided to only have the navy strip showing on the 2 sides- the top and bottom were finished with a facing strip of the backing fabric. I machine-stitched the whole binding, the facings and the hanging sleeve, but had to go back and hand-sew some places on the back.

Well, there were actually 2 more frustrating challenges: making a good photo, and hanging it. But those were after it was finished!
Posted by Adriene Buffington
